LeafPad's Webflow integration lets you sync your blog posts directly into a Webflow CMS collection automatically every hour, or instantly on demand. This guide walks you through getting your API token, configuring the integration, mapping your fields, and understanding how sync works.
Step 1: Get Your Webflow API Token
LeafPad connects to Webflow using a personal API token. To generate one:
Log in to your Webflow account.
Open the site you want to connect, then go to Site Settings.
Navigate to Apps & Integrations → API Access.
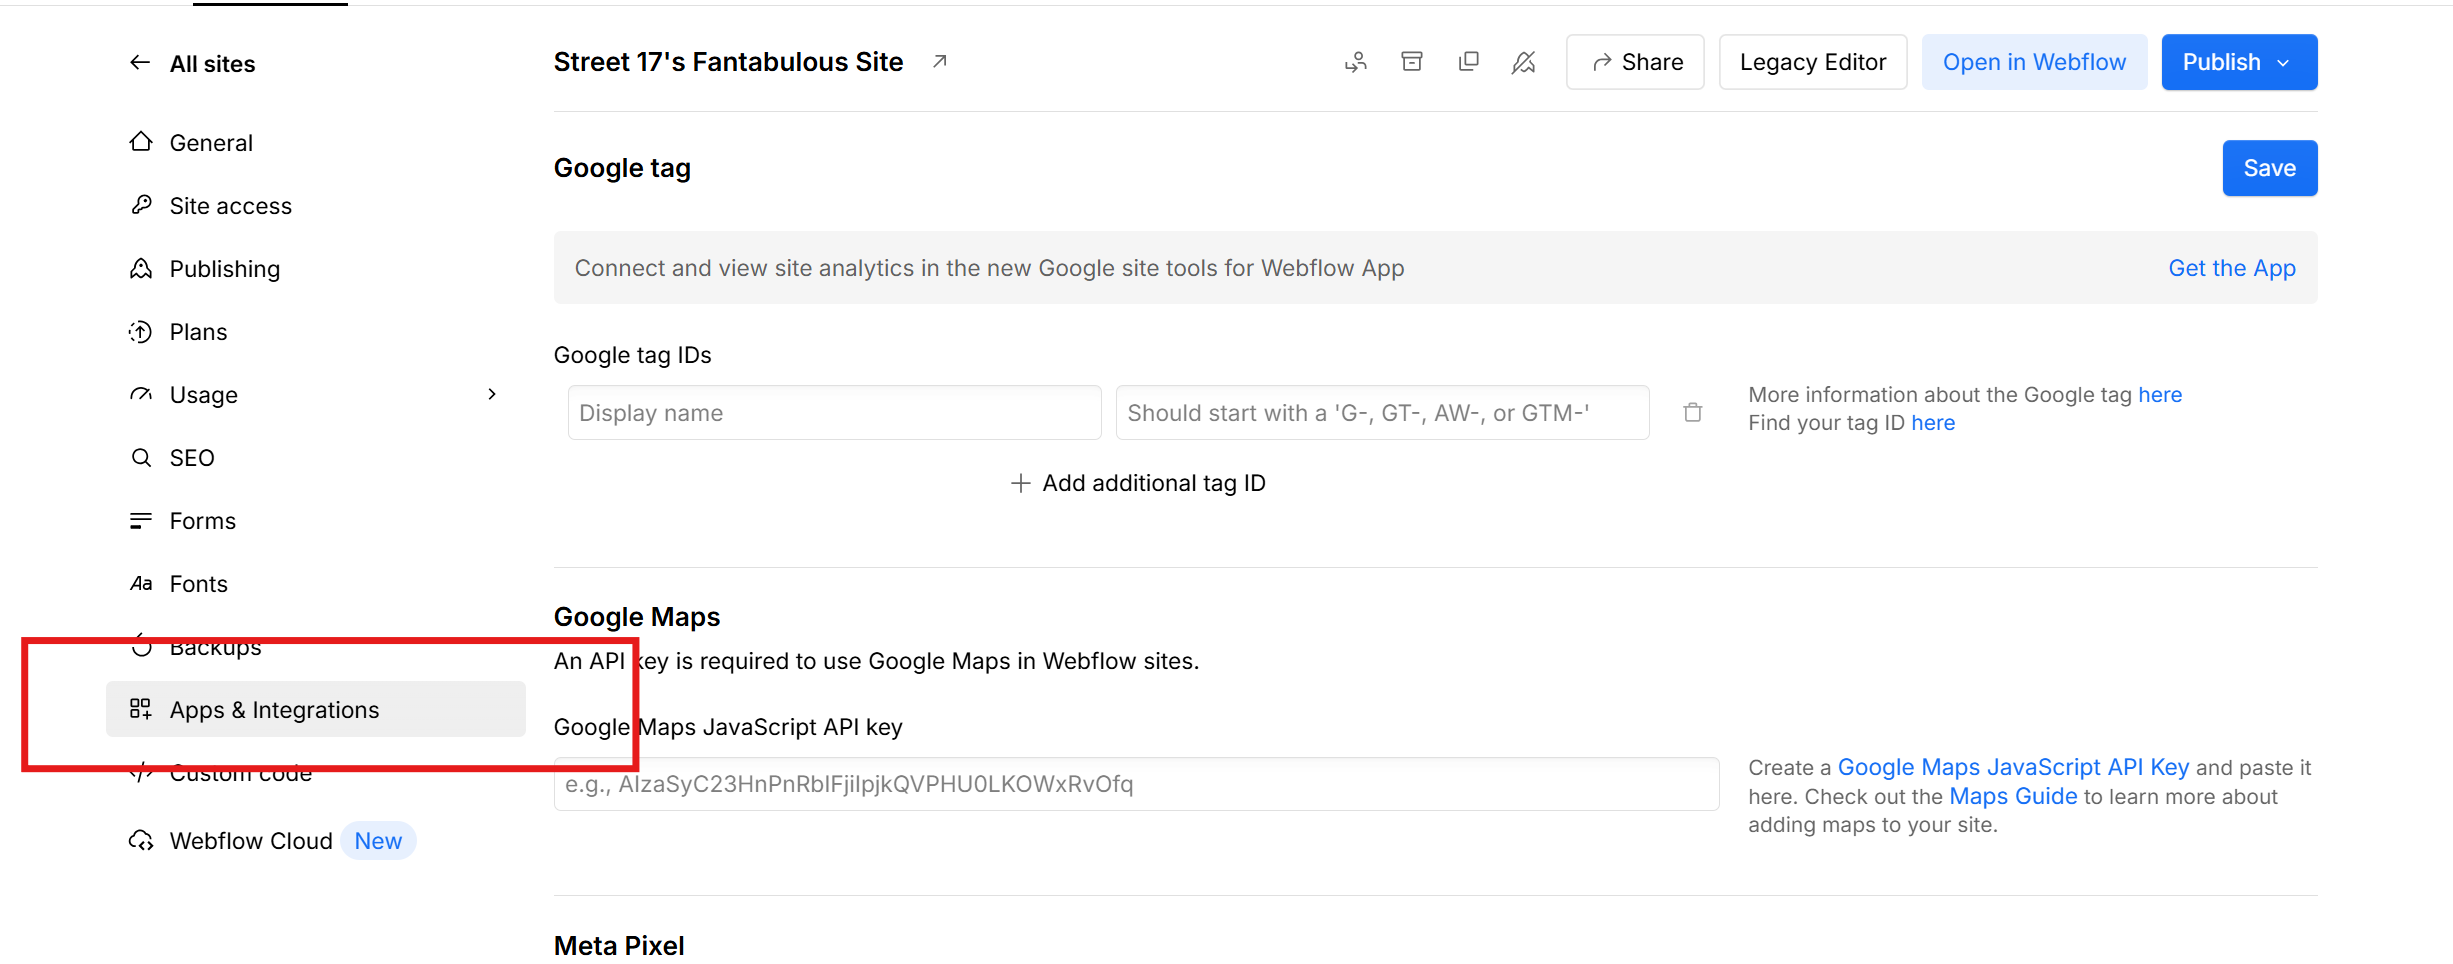
Click Generate API Token.
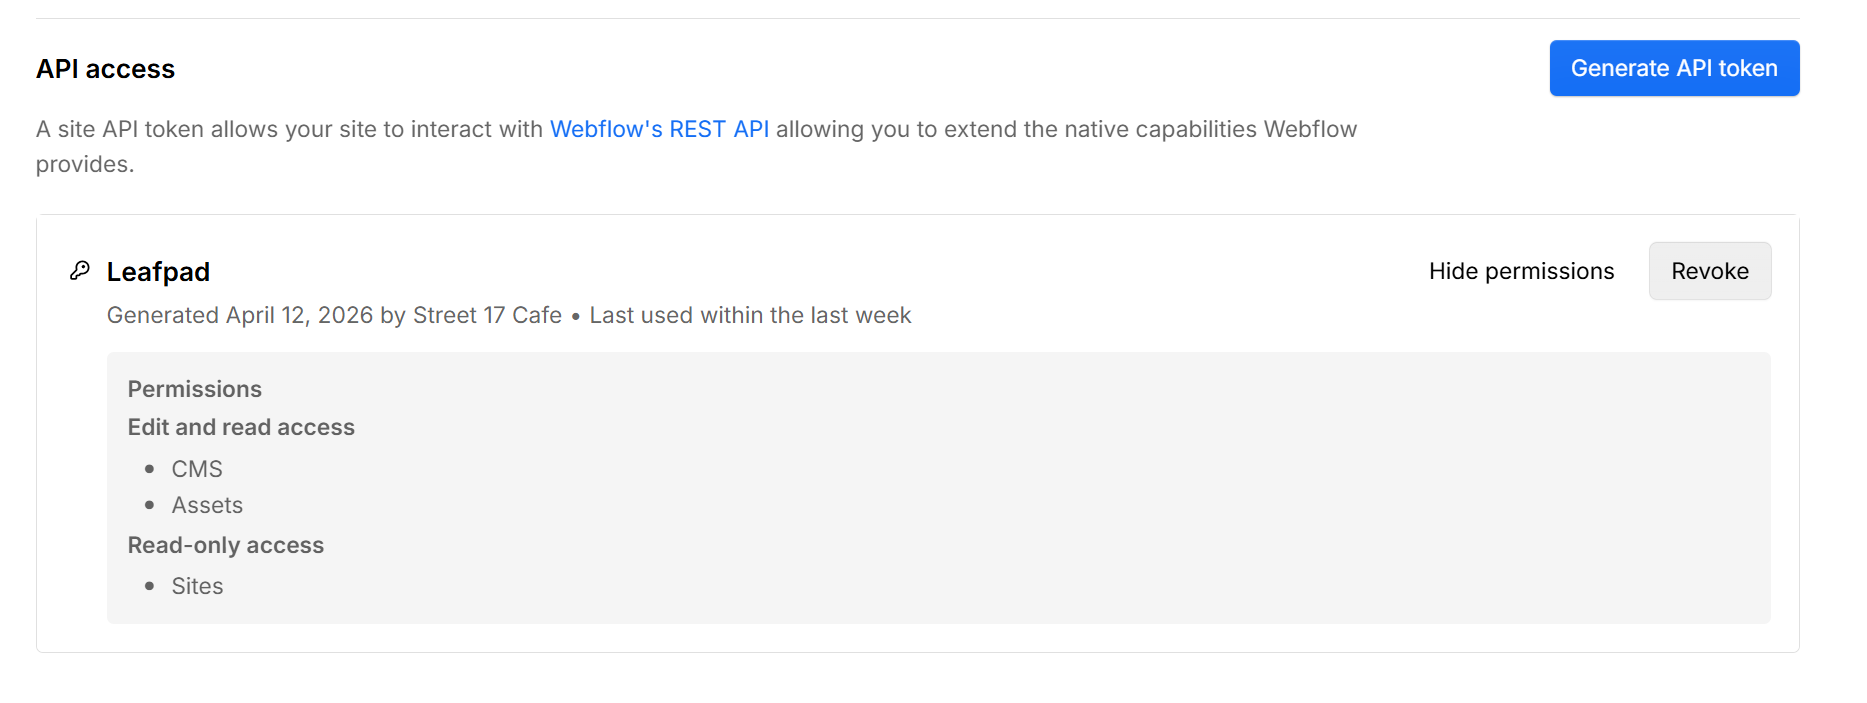
Choosing the Right Permissions
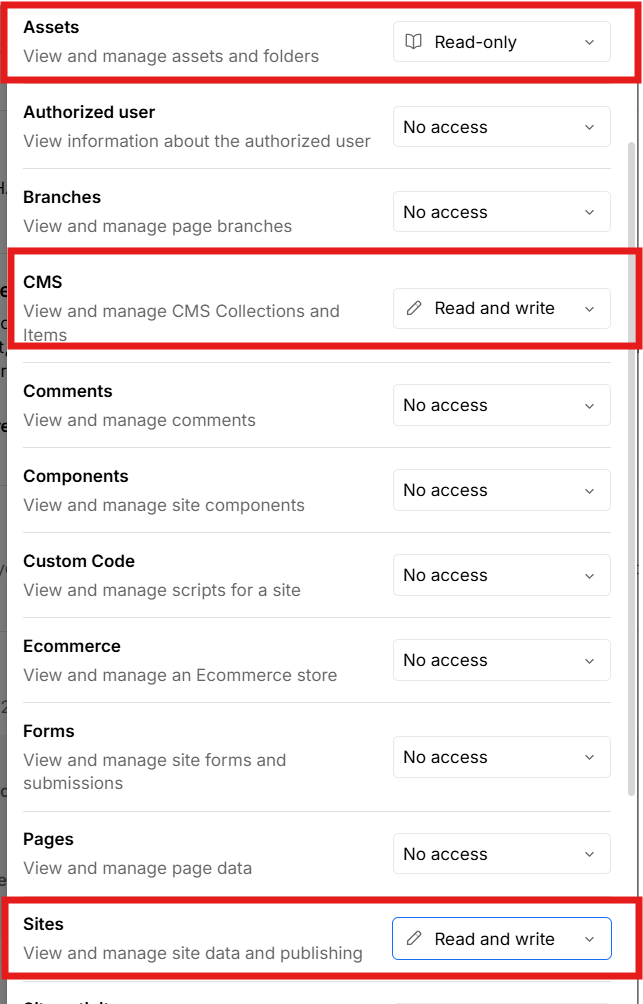
LeafPad only needs minimal access to your Webflow site. When creating the token, grant only the following permissions — nothing more is required, and LeafPad will not access anything beyond these scopes:
Scope | Access Level |
|---|---|
CMS | Edit and read |
Assets | Read Only |
Sites | Edit and Read |
Copy the generated token you'll need it in the next step.
Step 2: Create the Integration in LeafPad
In your LeafPad dashboard, go to Integrations from the sidebar.
Click on Webflow.
Fill in the configuration form:
Integration Name — A friendly label for this connection (e.g. "My Webflow Blog").
API Token — Paste the token you generated above.
Once the token is entered, open the Webflow Site dropdown. LeafPad will fetch your available sites automatically.
Select your site, then select the Webflow Collection you want posts synced into.
Step 3: Map Your Fields
After selecting a collection, LeafPad fetches all CMS fields from that collection and displays them in the Fields section.
For each Webflow field, choose the corresponding LeafPad field it should receive data from:
LeafPad Field | Description |
|---|---|
Post Title | The post title |
Post Body | Full HTML body of the post |
Slug | URL-friendly identifier |
Cover Image URL | Featured image URL from SEO metadata |
Published At | Post creation date (ISO 8601) |
SEO Title | Meta title for the post |
Description | Meta description for the post |
Tags | Comma-separated list of tag names |
Fields marked with * in the UI are required by your Webflow collection and must be mapped before syncing will work correctly.
Tip: One LeafPad field can be mapped to multiple Webflow columns — useful when your collection has both a display title and an SEO title that should share the same value.
Step 4: Choose Publishing Behavior
The Publishing Behavior setting controls what happens to items when they land in Webflow:
Publish Immediately — Items are created or updated and immediately published live on your Webflow site.
Save as Draft — Items are saved as drafts in Webflow and will not appear on your live site until you publish them.
Step 5: Save and Connect
Click Save Integration. LeafPad will store your configuration and the integration is now active.
How Sync Works
Automatic Sync Every Hour
LeafPad runs an automatic sync job every hour. During each run, all published posts in your organization are synced to the mapped Webflow collection. If a post already exists in Webflow (matched by its slug), it is updated in place. If it doesn't exist yet, a new CMS item is created.
Manual Sync Instant
Don't want to wait for the next hourly run? Use the Sync Now button on the integration page. This triggers an immediate full sync and shows you a live result summary how many items were created, updated, or failed.
At a Glance
Only published posts are synced — drafts are ignored.
Posts are matched to existing Webflow items by their slug — no duplicates are ever created.
Automatic syncs run every hour in the background with no action required.
The Sync Now button triggers an instant sync whenever you need it.
Troubleshooting
Sites not loading: Verify your API token has Sites: Read-only access and has not expired. Because, tokens expire every 365 days
Fields not appearing: Ensure the selected Webflow collection has at least one custom field configured.
Sync failures on a post: Check that all required Webflow fields (marked *) are mapped to a LeafPad field. Unmapped required fields will cause that post to be skipped.
Content not appearing live: If Publishing Behavior is set to Draft or Stage, items won't appear on your live site until you publish them from the Webflow CMS dashboard.