LeafPad's MCP server lets you publish blog posts directly from your AI tool of choice, no dashboard required. The server is available at https://leafpad.io/mcp and works with any MCP-compatible client.
Before you start: Make sure you have a LeafPad account. If you don't, sign up free at leafpad.io.
How to Add Leafpad MCP in Claude
Find step-by-step walkthrough here:
Claude.ai has native support for MCP connectors. Here's how to set it up:
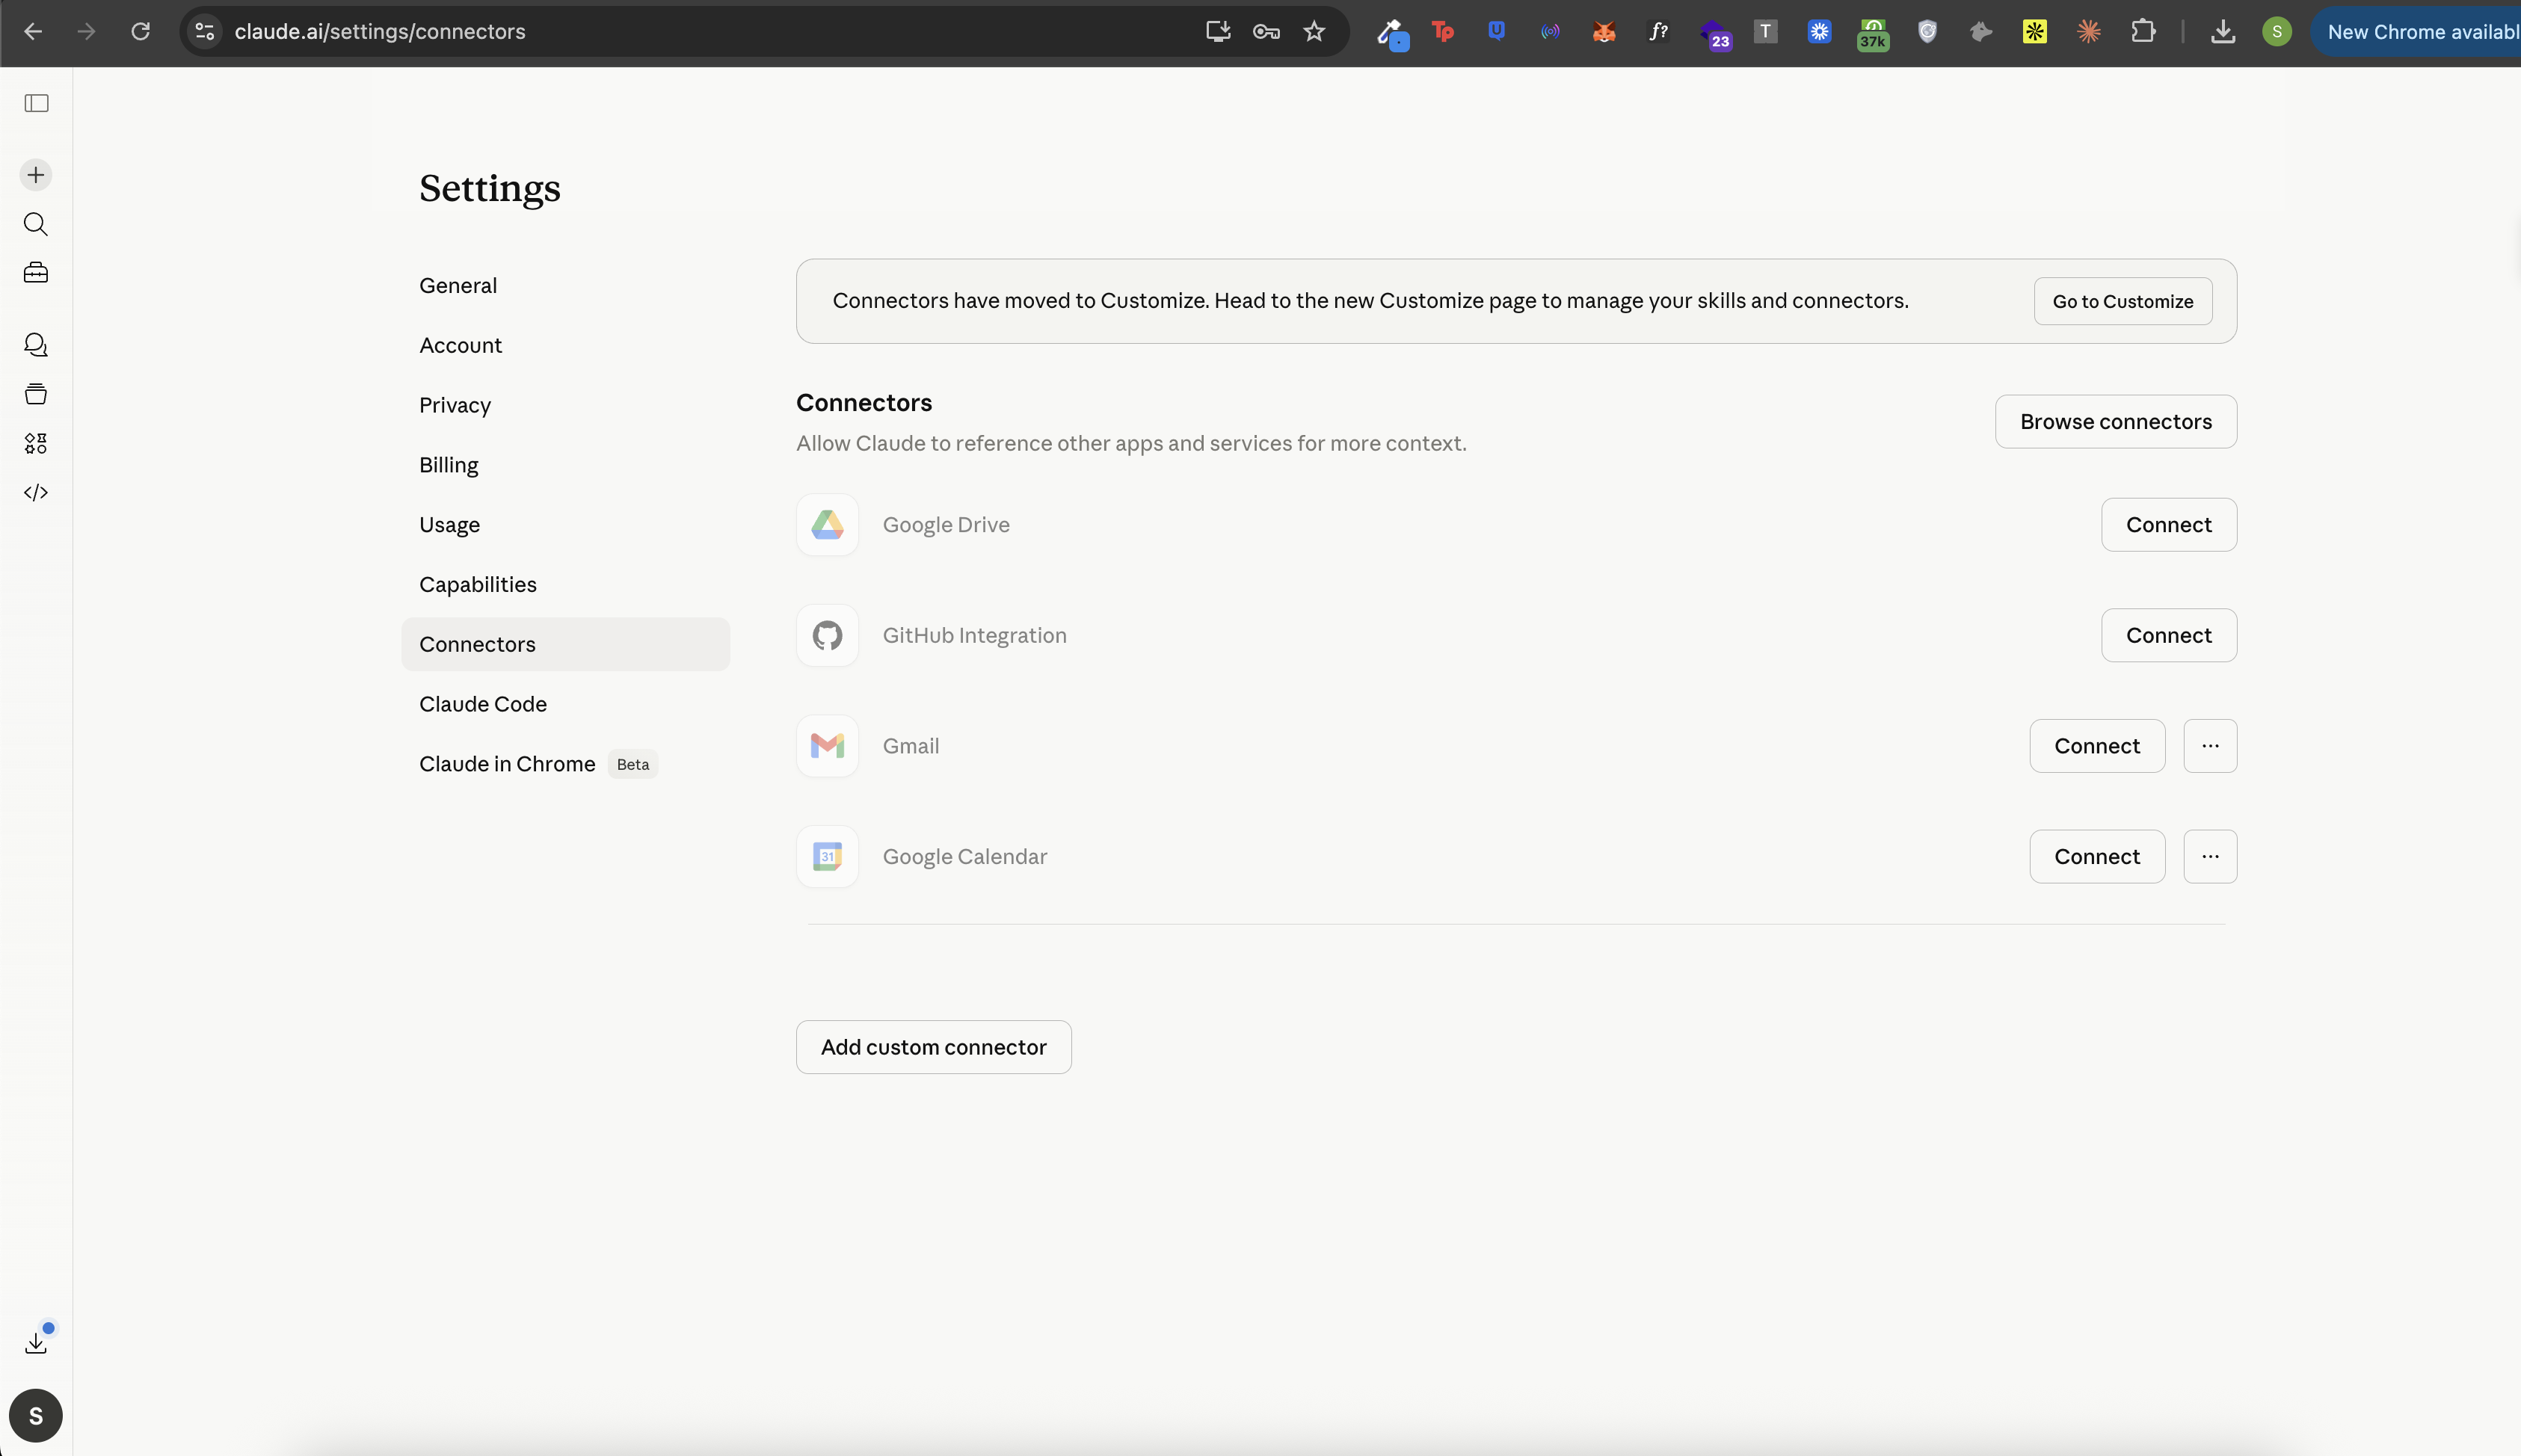
Go to claude.ai and open Settings.
Navigate to the Connectors section. Click "Add Custom Connector"
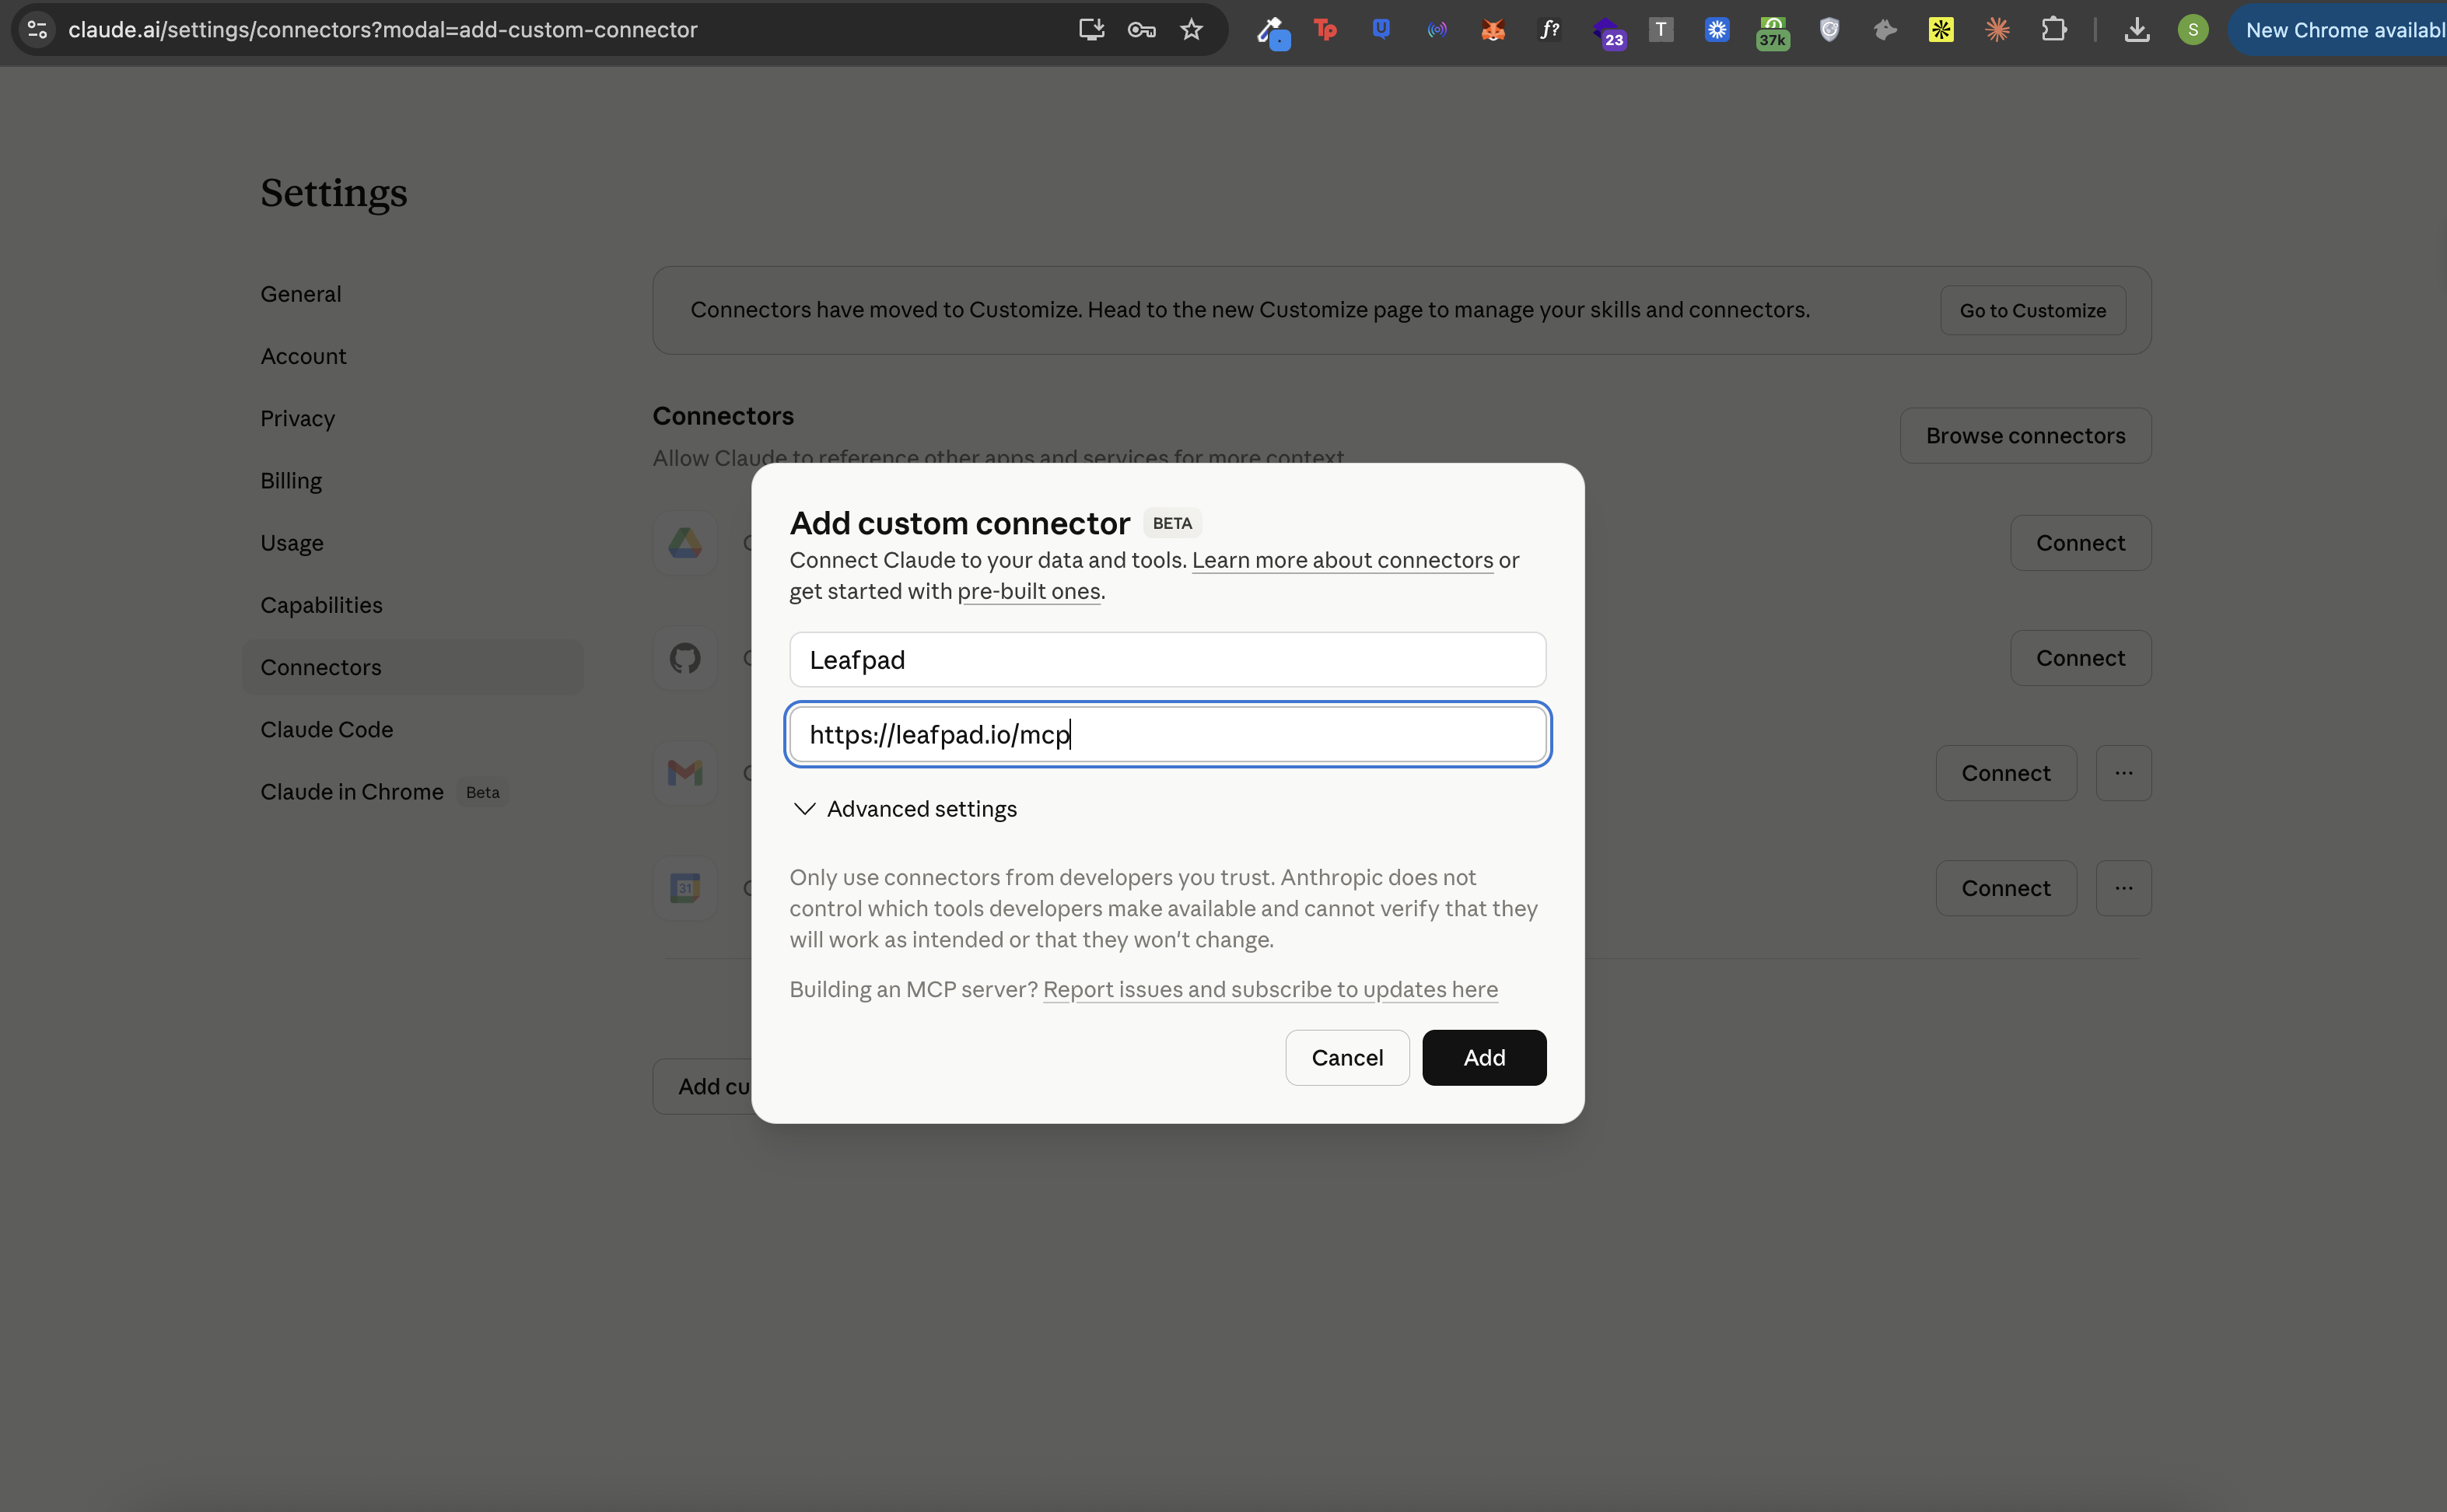
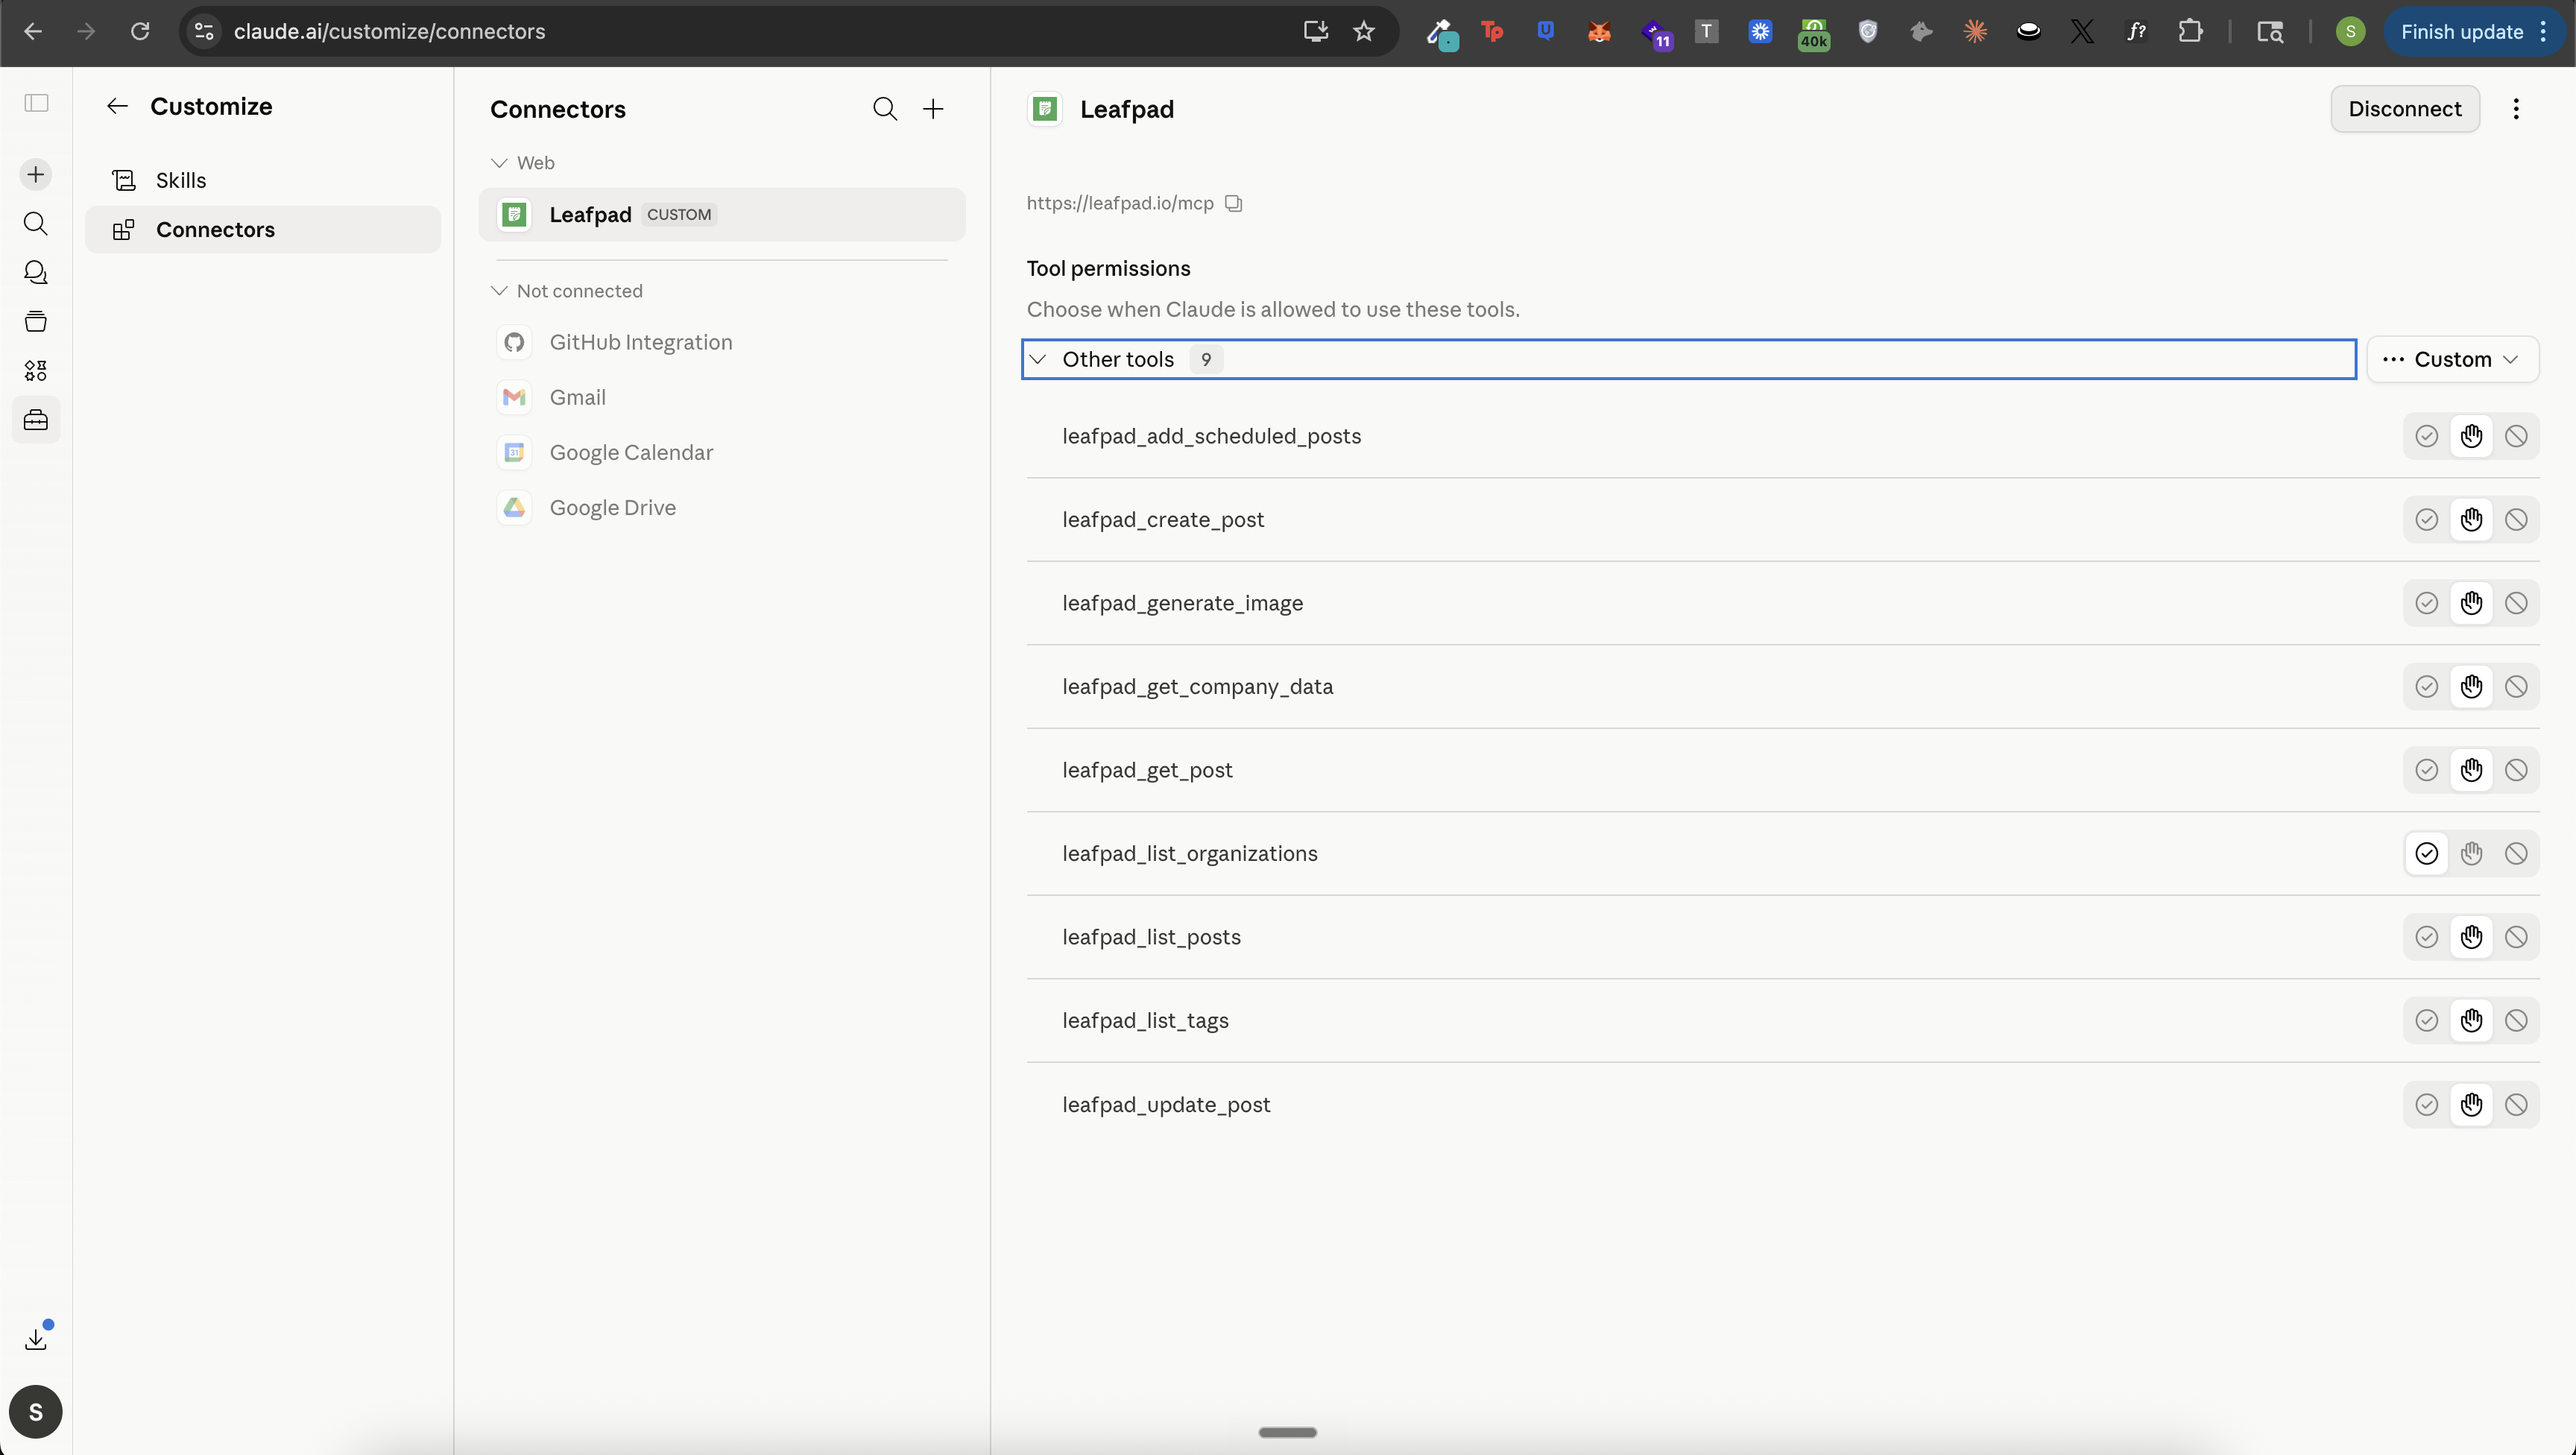
Custom LeafPad Connector:
Enter Name: Leafpad
Remote MCP Server UrL:https://leafpad.io/mcpPress "Add"
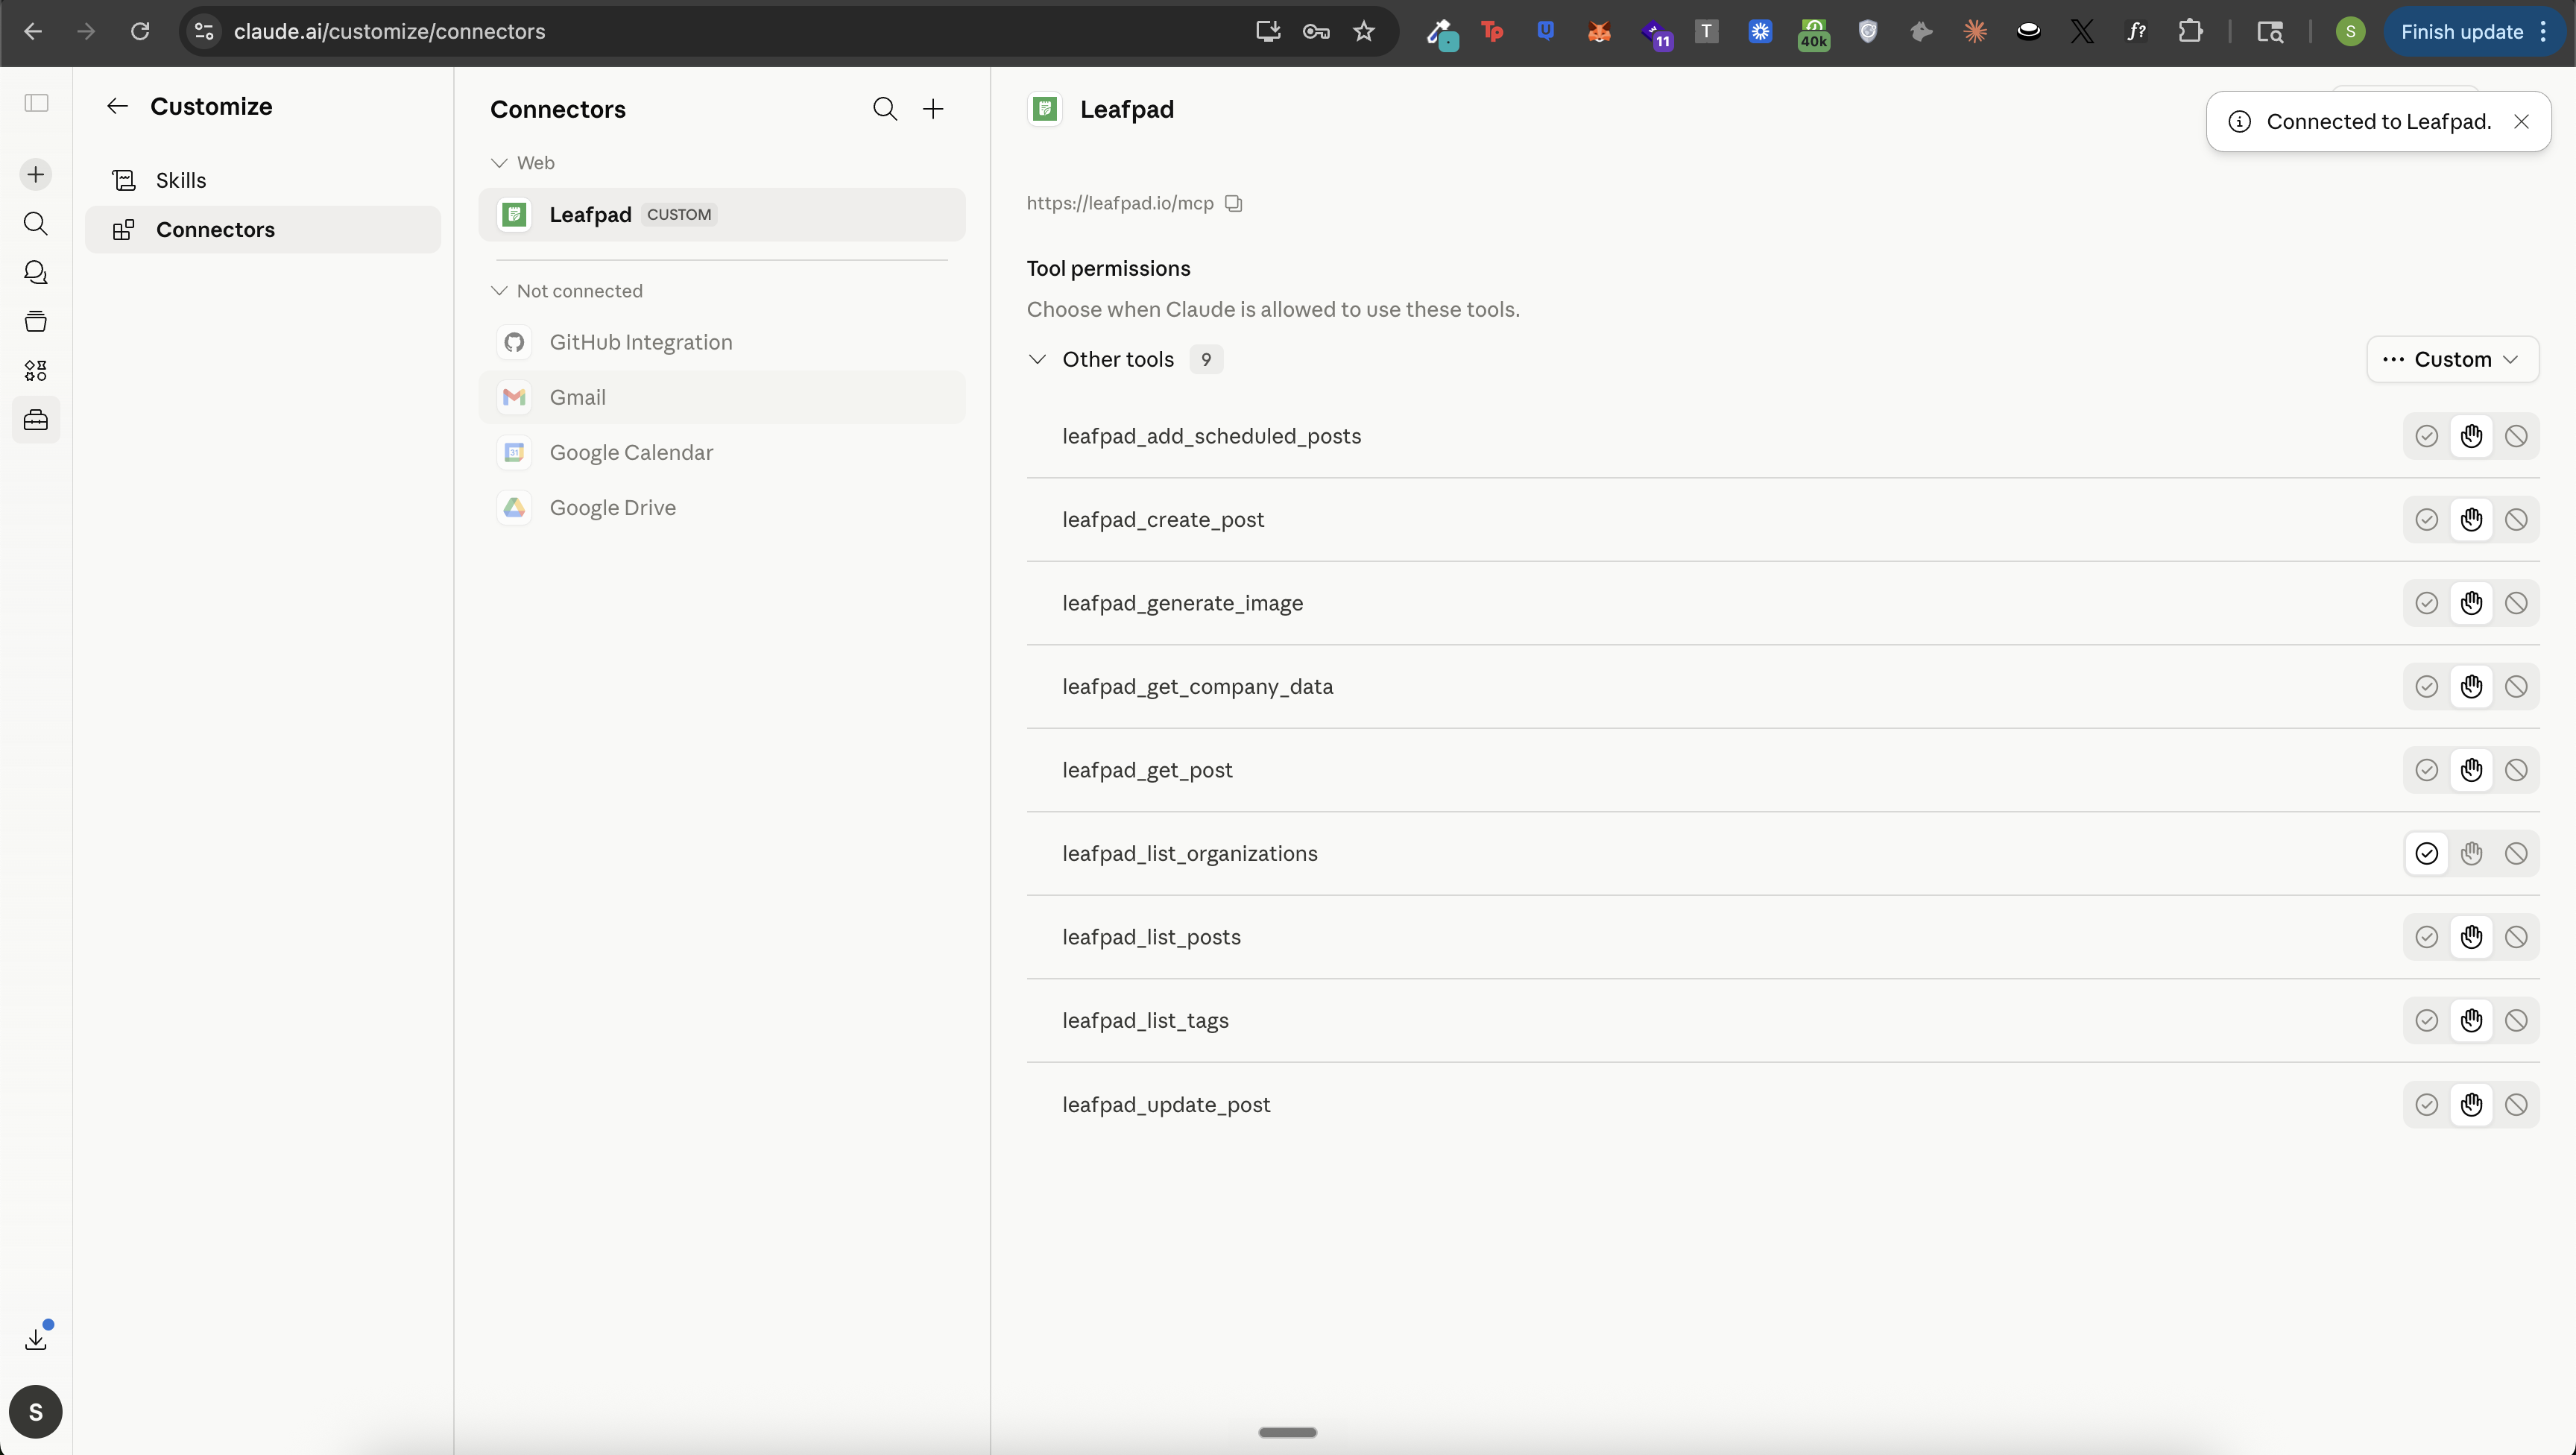
Authenticate with your Leafpad account.
Start a new conversation - Leafpad tools will now be available to Claude automatically.
Once connected, try something like: "Create a blog post in my Leafpad Docs org summarizing this conversation." Claude handles the rest.
Error case:
1. Turn on connector discovery
In a possibility that you run into an situation where Clade prompts you to: "Turn on connector discovery"
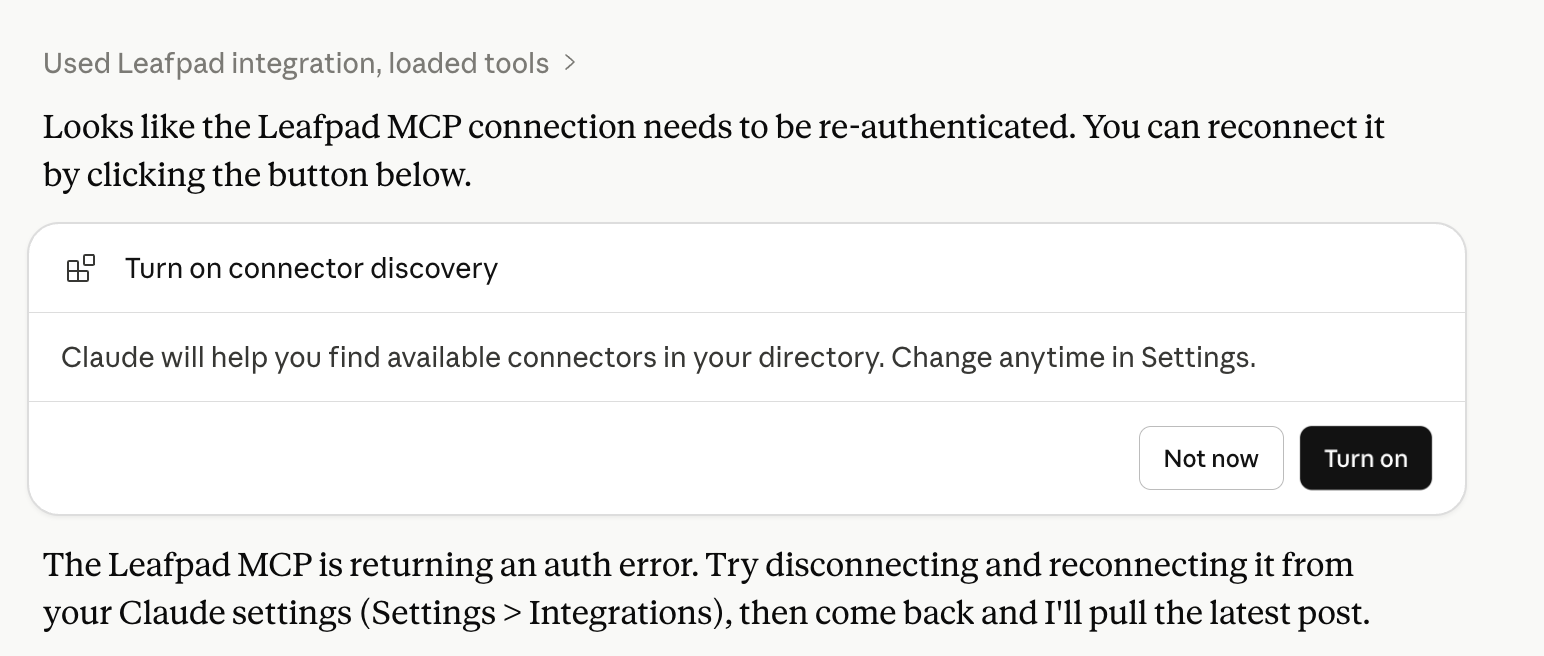
In this case, go ahead and click turn on. If the issue persists, please re-authenticate.
2. Claude MCP connection expired
If you are working in a Claude's chat thread and getting a post onto your blogs with Leafpad or performing any other action and run into an error that the "MCP Connection seems to have expired"
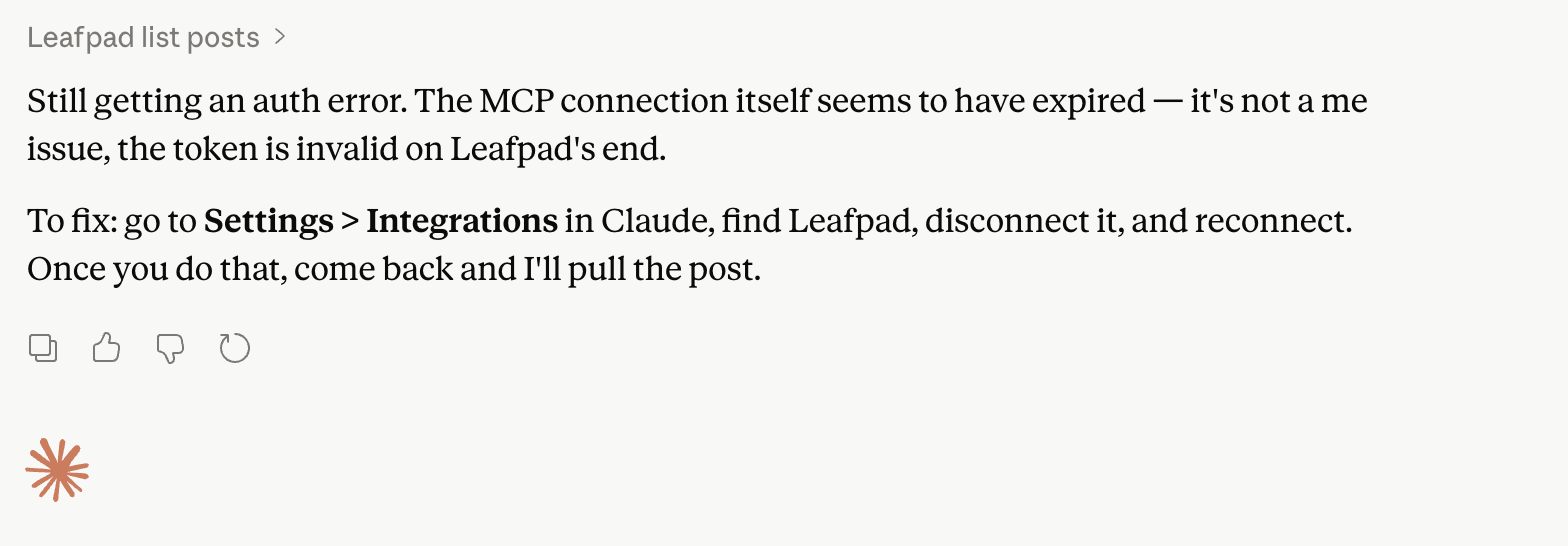
Re-authenticate Claude for Leafpad MCP
Step 1: Disconnect Leafpad connector.
Head over to 'Connectors' and click disconnect.
Step 2: 'Add Custom Connector'
Follow the step above and add Leafpad's custom connector again and you should be good to go.
How to Add Leafpad MCP in ChatGPT
ChatGPT supports MCP via its Connectors feature (available on Plus and above).
Go to chatgpt.com and open Settings.
Navigate to Connectors and click Add Connector.
Select Custom and enter:
Name: LeafPad
Server URL:
https://leafpad.io/mcp
Authorize with your LeafPad credentials.
Open a new chat. The LeafPad connector will be available in the tools menu.
Once connected, try: "Draft and publish a blog post about [topic] to my LeafPad site."
VS Code (via Cursor or GitHub Copilot)
MCP is supported in VS Code through extensions like Cursor or the GitHub Copilot MCP plugin.
Using Cursor:
Open Cursor and go to Settings > MCP.
Click Add MCP Server.
Enter:
Name: LeafPad
Type: HTTP/SSE
URL:
https://leafpad.io/mcp
Save and restart Cursor. LeafPad tools will appear in the agent tool list.
Using GitHub Copilot (VS Code extension):
Open your VS Code workspace and create or edit
.vscode/mcp.json:
{
  "servers": {
    "leafpad": {
      "type": "http",
      "url": "https://leafpad.io/mcp"
    }
  }
}
Reload VS Code. The LeafPad server will connect automatically.
Open Copilot Chat in Agent mode and LeafPad tools will be available.
Once connected, try: "Publish a technical blog post about [topic] to my LeafPad account."
Published with LeafPad